IoT Weather Station Kit
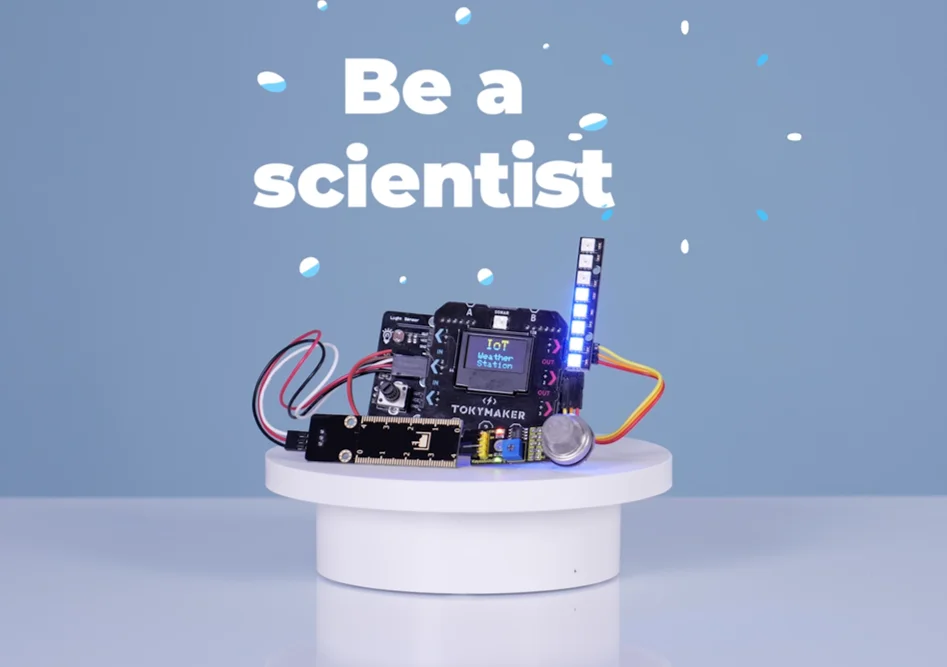
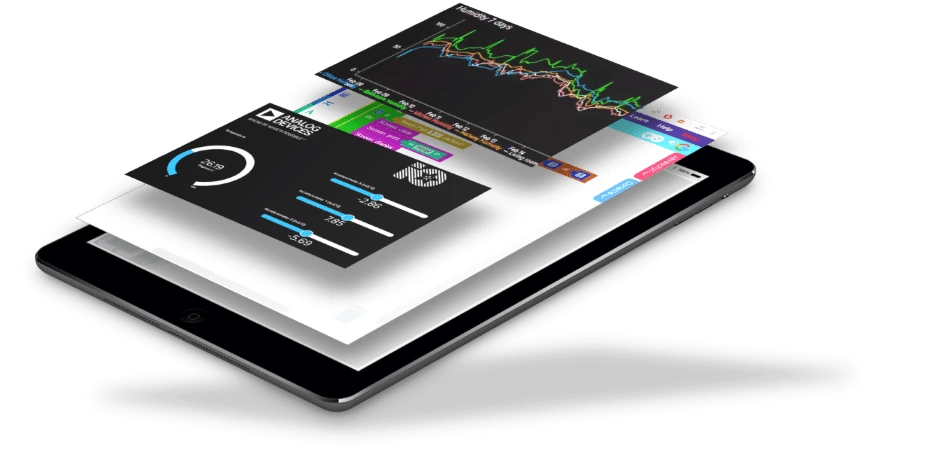
This is an introduction kit for students on IoT technology. It refers to a system of internet-connected objects that are able to collect and transfer data.
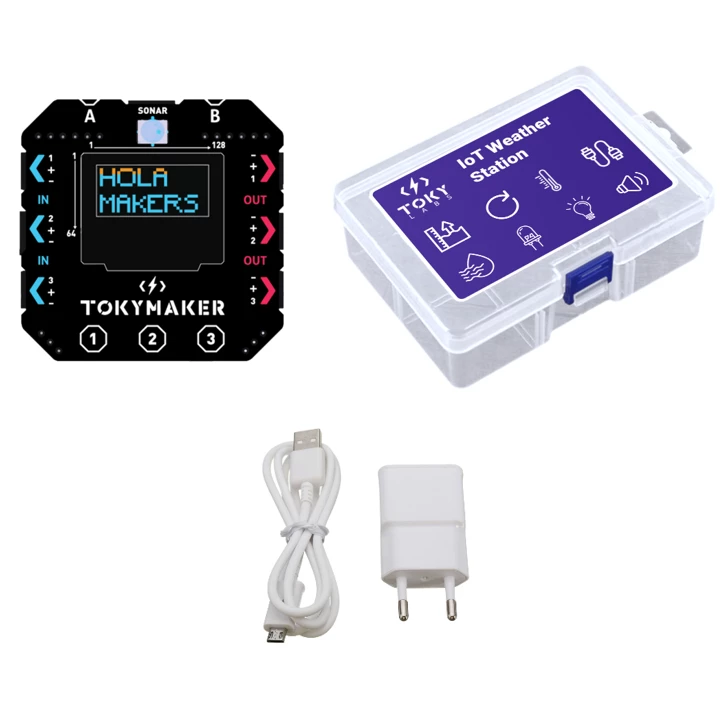
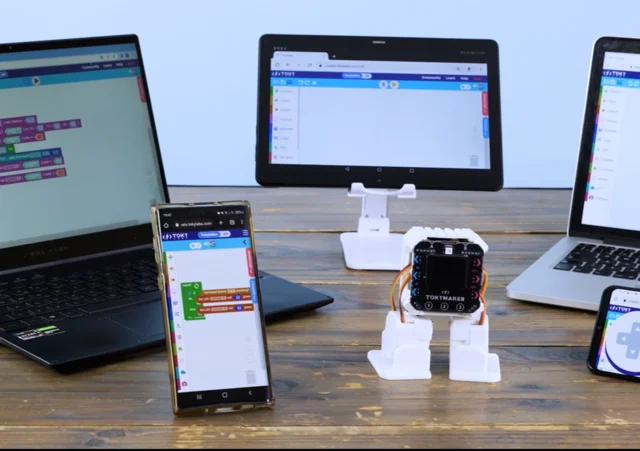
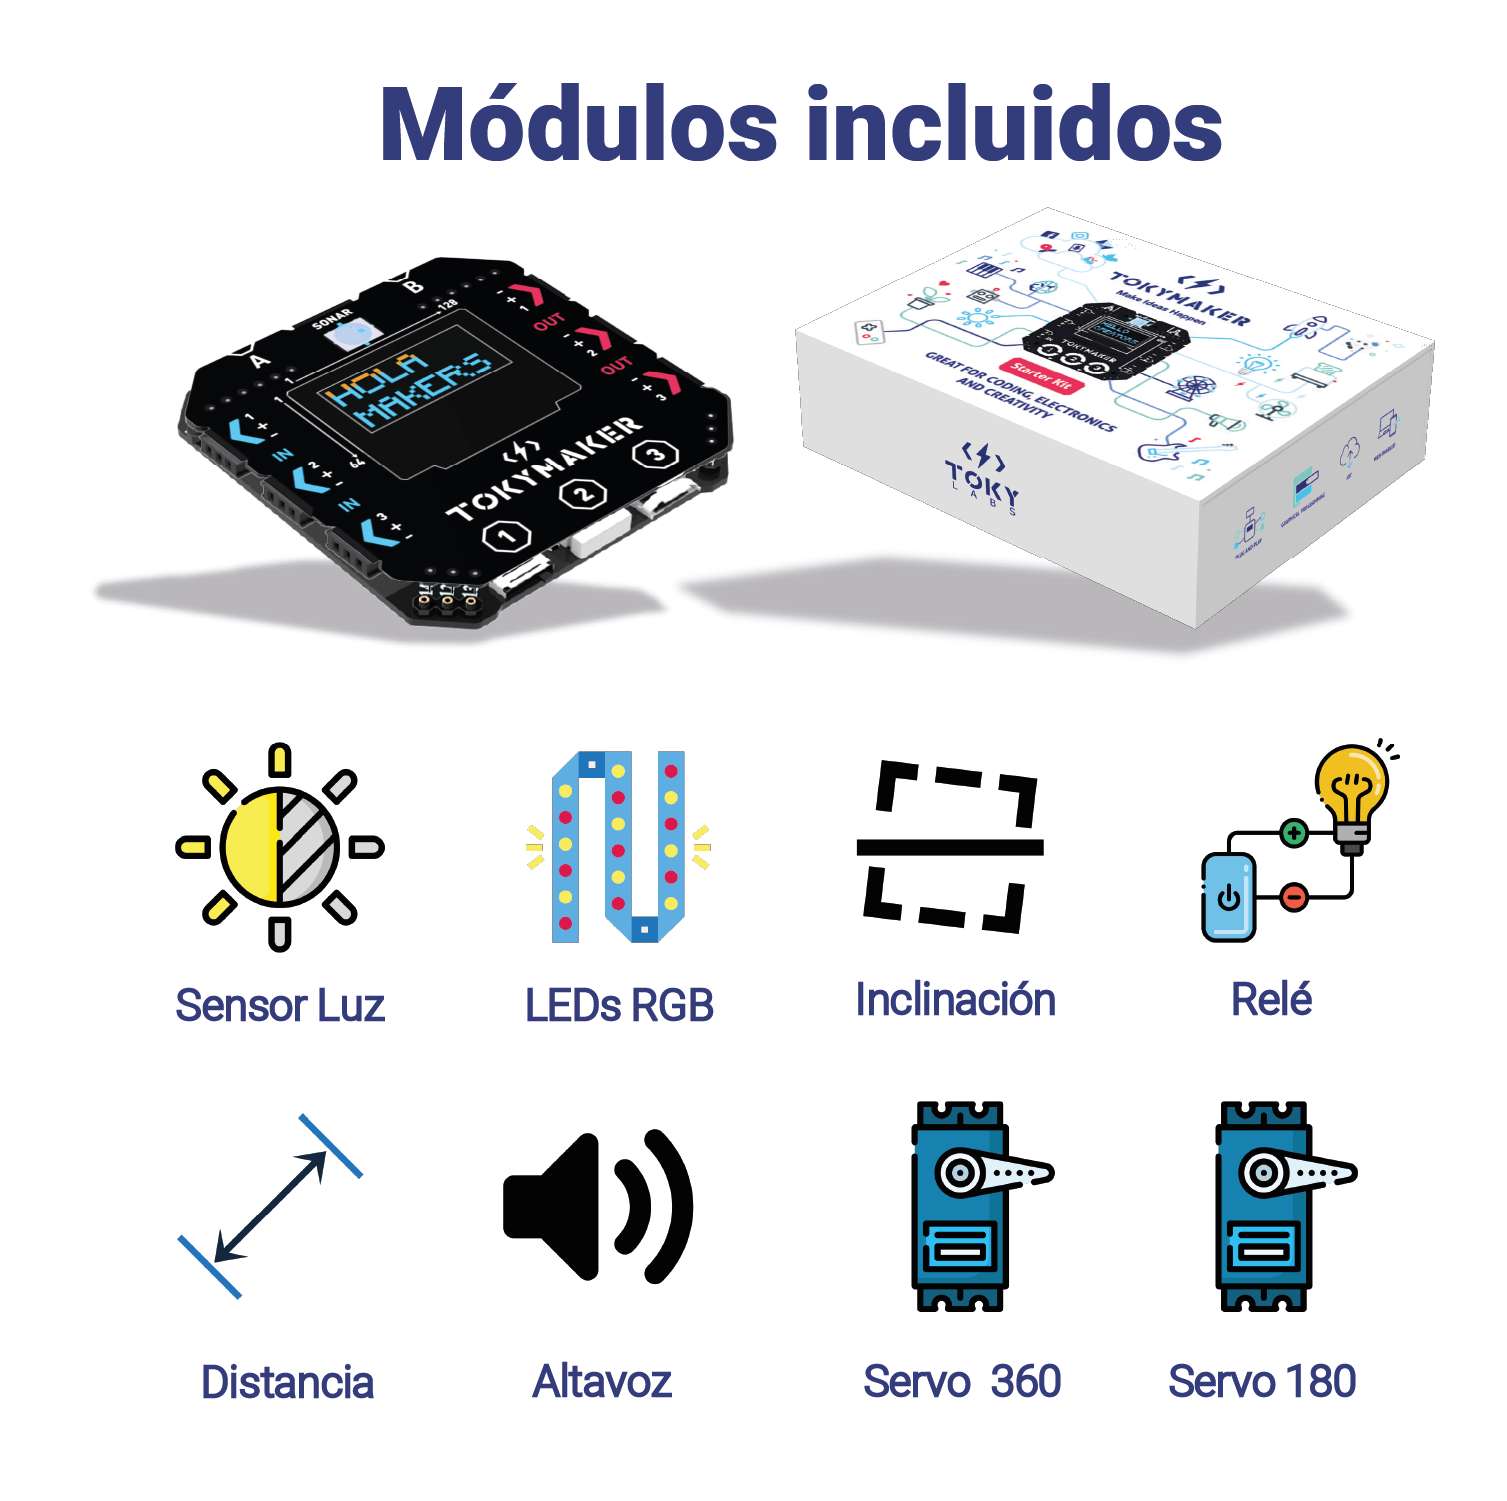
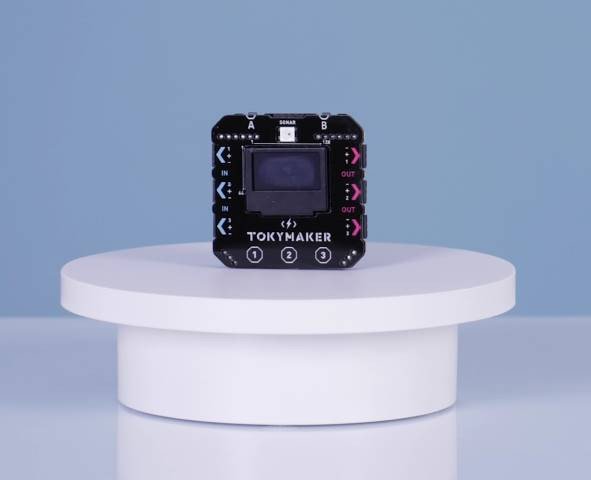
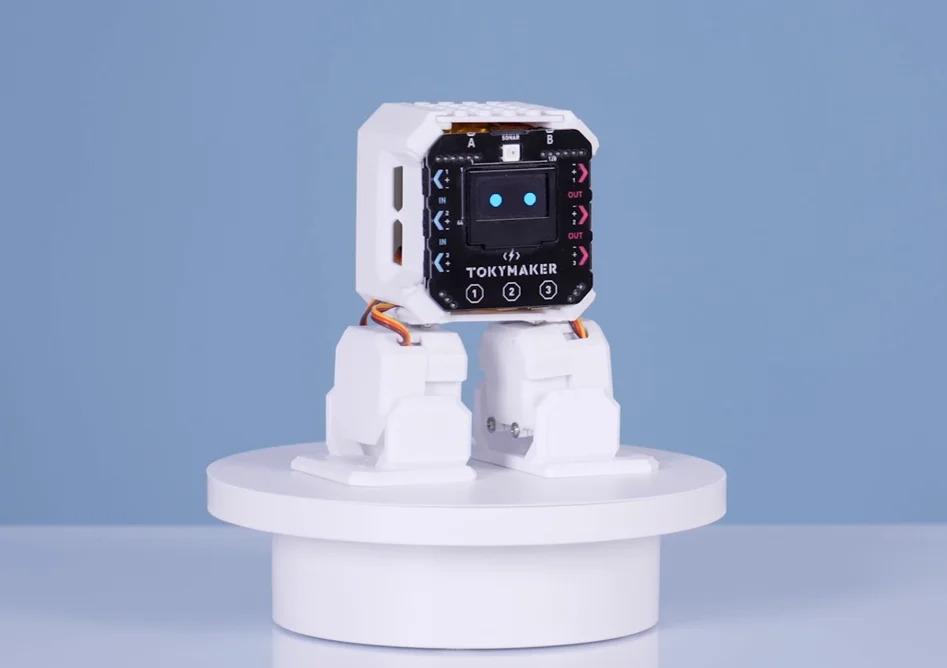
What is in a Tokymaker?
• 1x Neopixel RGB LED
• 3x Touch Buttons
• 2x Push Buttons
• Bluetooth (for wireless coding and communications)
• Wifi (for IoT projects)
• OLED Screen
• 5x Analog Inputs
• 5x Output (1 Amp per Output)
• Ultrasound Input Port
• Resine Cover Case
• Micro Usb port for Power
• Battery port
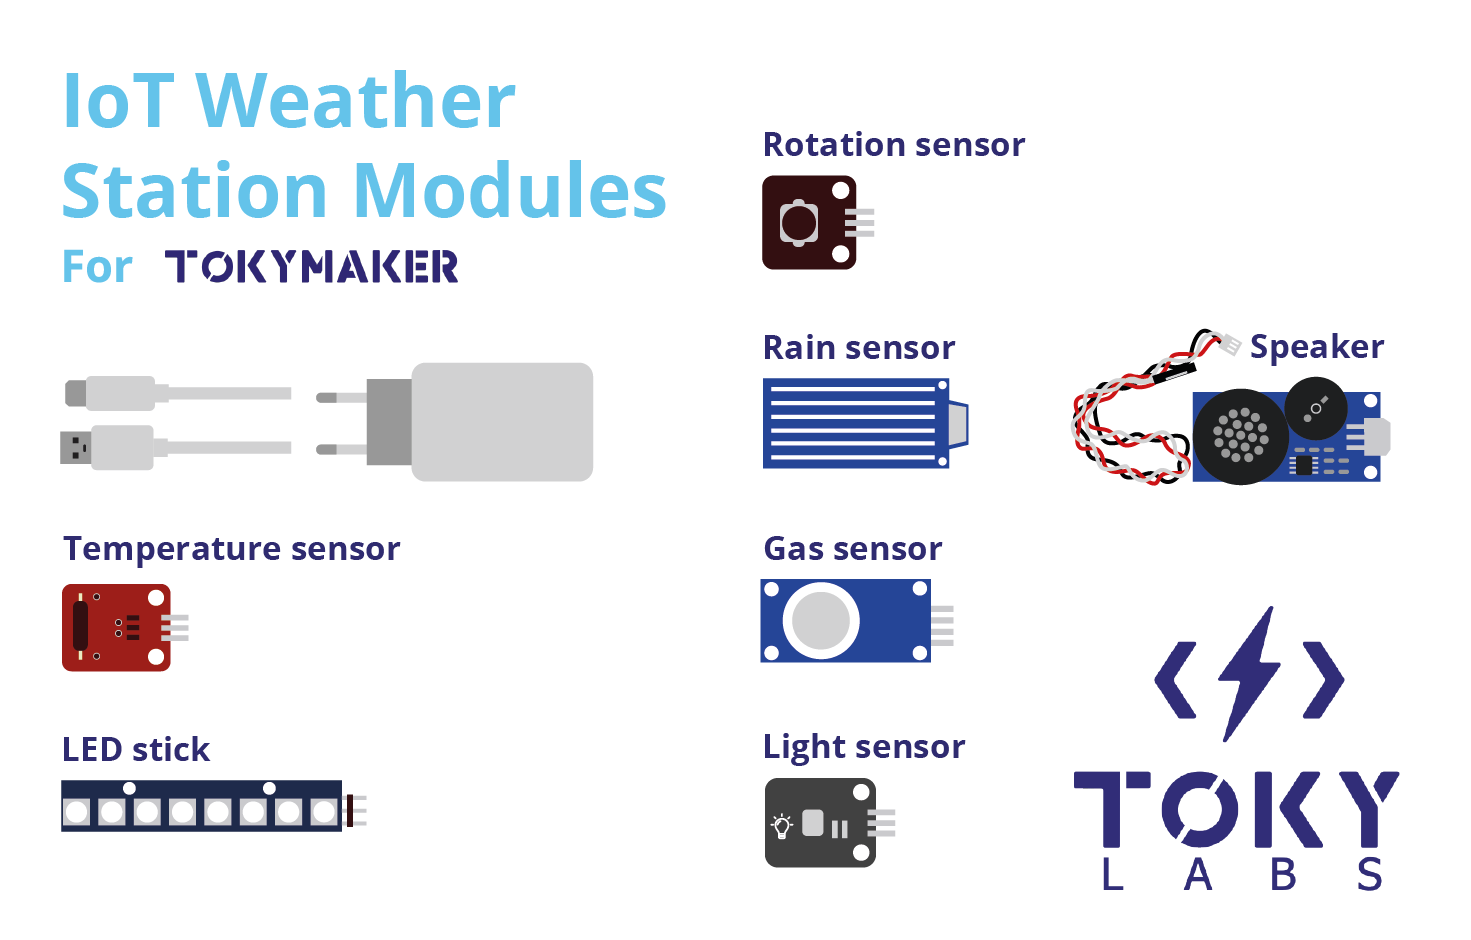
What else is inside the IoT Weather Station kit Box?
🌐 IoT ; Bluetooth and Wifi
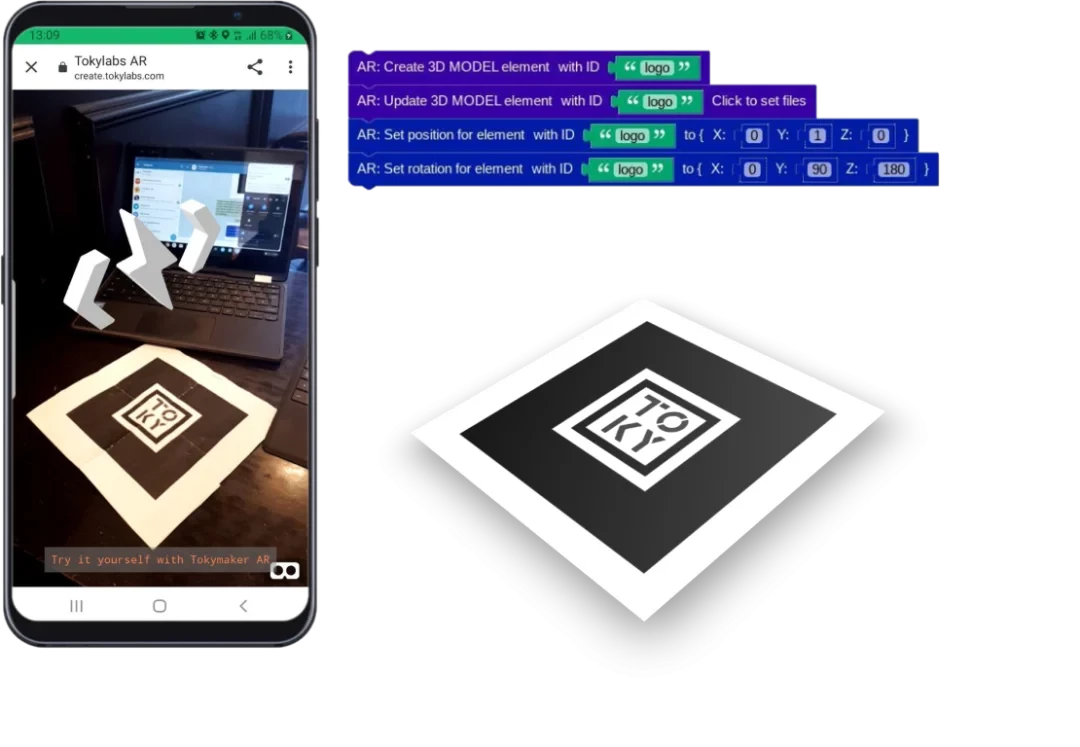
👓 Augmented Reality
🔊 Speakers
🔄 rotation sensor
🏭 Gas sensor
☀️ Light sensor
🚥 Neopixel RGB light
🧱Building Blocks
🌧️ rain sensor
🔌 AC Adaptor & USB Cable
📚 Full IoT course
...
...
If you are curious about what kind of learning you can accomplish following our courses, we are sharing here the outline of one.
IoT Camp
Course Overview-
IoT camp is a two-day course where students will learn about IoT technology. Combining software programming and hardware prototyping education, students will seek creative solutions addressing the 17 United Nations sustainable development goals. The camp aims to cultivate entrepreneurship where creative individuals apply technology to fresh ideas that benefit others.
Core Objectives-
1) IoT ( Internet of Things)
2) Computer programming
3) Input / Output, Sensors, and actuators
4) Data analysis
5) Creative solutions
6) Teamwork
Classroom Setup
1) 1 table per team. Chairs for every student.
2) Power source and power strip for every table.
3) Wifi.
Schedule-
|
1h Workshop |
Students will create their account on io.adafruit.com, and achieve their first IoT practice. They will learn about how engineers and product developers apply technology towards a creative end. Step 1. Introduction to TokyMaker and TokyLabs. Step 2. Introduction to IoT. Step 3. Go to io.adafruit.com, and create a new account. Step 4. Connect TokyMaker, and go to create.tokylabs.cn. Step 5. Check IoT connection. Step 6. Create a feed (“Light”). Step 7. Send light sensor data to feed (“Light”). Step 8. Conclusion. |
|
Day 1 / 7h IoT intro |
The two day camp is an in-depth program where students will get a close look at how microcontrollers work and how products (physical and virtual) are developed with the aid of internet technology and data analysis. Morning ↪ Introduction to the Class, get to know the students. a. Why did you pick this class? b. What is your favorite book / movie? ↪ Maker Movement ↪ “Hello!” practice ↪ Foundation Practice a. Save and open programs b. LED c. LED blink outside loop d. LED blink inside loop ↪ Output Practice a. Circuit of Output b. Blink an LED stick c. Turn on an LED stick ↪ Input Practice a. Circuit of Input b. Light sensor and TokyMaker display ↪ Logic Practice a. Show a secret message with touchpad b. Show and hide a secret message with touchpad c. Show a secret message with 2 touchpads. d. Choose color on LED stick with a light sensor ↪ Open practice, program something fun. ↪ Debugging Checklist Afternoon ↪ Revision of IoT and conclude from the previous workshop. ↪ IoT videos. a. How can the IoT technology improve our everyday life? b. What are some products that uses IoT technology? i. Fitbit ii. Roomba vacuum iii. Amazon Echo speaker iv. Amazon Dash button ↪ Revision a. Log on to io.adafruit.com. b. Go to create.tokylabs.cn, and program to check IoT connection. c. Program to upload light sensor data to IoT feed (“Light”). d. Save code. ↪ Create another feed (“Touch”) to display how many times TokyMaker’s touchpad has been touched. ↪ Create variables ↪ Program and have the feed (“Touch”) show how many times the touchpad has been touched. ↪ Use button A to clear feed data (“Touch”). ↪ Dashboard a. Show two feeds with two line charts. b. Use steam block style to show metadata. c. Explain data overflow by tapping the touchpad rapidly. Adafruit feed has a rate of one feed update every 2 seconds. ↪ Block style a. Gauge. Use a gauge to display feed (“Touch”). Set a low warning and a high warning. b. Indicator light. Use an indicator light to respond to light sensor. Customize condition and indicating colors. ↪ Sending data to TokyMaker. a. Toggle Button b. Use a toggle button to change the color of onHead LED. c. Momentary Button d. Use a momentary button to change the color of onHead LED. e. Slider f. Use a slider to change the color of onHead LED. g. Remote Control h. Use the TokyMaker display to show the values coming from the remote control. ↪ Open practice: Select a sensor, and choose a location in the classroom to investigate. Program the TokyMaker with IoT, and install at the location. Leave the TokyMaker on, and collect data from IoT overnight. |
|
Day 2 / 7h Tinkering with IoT |
Students will look into the 17 United Nation sustainable development goals, and talk about what impact they can achieve in order to make the Earth a more sustainable place. The class will look into case studies where technology is playing an integral role in humanitarian works. Then students will go through a variety of sensors and actuators, and will work in teams focusing on a particular issue. Morning ↪ Retrieve TokyMaker and report what you learn by reading the data from the IoT. ↪ 17 United Nation sustainable development goals (link, video). ↪ Case study: Refaid App (source article) a. “Through a simple, easy-to-use interface, the free mobile app uses geolocation to show migrants, refugees, and aid workers a map of the closest services for food, shelter, health care, legal help, and more. Aid organizations can communicate with each other—and touch base with the refugees they've helped—through a web-based content management system, as well as update and keep track of the services they offer.” b. Identify an issue: European refugee crisis, is a period beginning in 2015 characterised by rising numbers of people arriving in the European Union (EU) from across the Mediterranean Sea or overland through Southeast Europe. c. Study and research: In the UK, many refugees have already reached their destination, and are focused more on integrating into a new society. Many refugees in Italy, meanwhile, are just arriving off boats after extremely harrowing, dangerous journeys across the Mediterranean. d. "I think the application is perfect for very vulnerable groups of people, who, because of bad experiences, repression, violence they had through their traveling ... don't really go to services," she says. "The application is something they can control. If the police would give information, [refugees] would never go. Because they would think that it's controlled by police, you would have to give your identity, and so on." e. Result: RefAid is updated every few weeks or couple of months, as more nonprofits use it and provide feedback. Even governments are starting to hop on board — Washington State uses the app to help distribute information about local services available to refugees, as well as the UK's National Health Service and cities across Europe. ↪ The Engineering Design Process (source article) a. Define the problem. i. What is the problem or need? ii. Who has the problem or need? iii. Why is it important to solve? iv. Mind Mapping v. 5W 1H questions. ● Who will use the product? ● How do they use the product? ● Why should they use your product? ● When should they use it? ● Where are people using it? What is the demographic of your users? ● What are the key features of your product? b. Do Background Research i. Evaluate between good references and bad references. c. Specify Requirements i. State the important characteristics that your design must meet in order to be successful. ii. One of the best ways to identify the design requirements for your solution is to analyze the concrete example of a similar, existing product, noting each of its key features. d. Brainstorm Solutions and choose the best one i. Good designers try to generate as many possible solutions as they can before choosing one that they feel is the best. e. Do development work i. Draw. Being able to describe your ideas verbally is important, but drawings are what allow you to show other people what's in your imagination. f. Build a Prototype i. Prototypes allow you to test how your solution will work and even show the solution to users for feedback. g. Test and redesign ↪ Team discussion, narrow down to one of the seventeen UN topics. ↪ IFTTT demo a. Introduction (video) b. Register a new account. c. Create a new applet with trigger and action. Afternoon ↪ Team development Stage One: Do research on your subject. Team must incorporate IoT and IFTTT in their process. a. Define the problem. b. Do Background Research. c. Specify Requirements. d. Brainstorm Solutions. ↪ Presentation Stage One: a. Present the engineering design process. b. Talk about mind maps and drawings. c. Group Q&A. i. What did you find during your research regarding your problem? ii. How are you using IoT and IFTTT in your project? iii. What are some IoT features you are considering using? iv. What are the IFTTT applets you are considering using? v. What are the technologies you are confident about? vi. What are the technologies you are uncertain about, but you think you can solve it? vii. What are the technologies you are uncertain about, but you don’t think you can solve it? viii. Are there any differences within the group? And how do you solve them? ↪ Team development Stage Two: Prototyping. a. Do development work b. Build a Prototype c. Branding your product: draw a logo, come up with a name for your product, draw a rough sketch of your product, draw scenarios where people use your product. ↪ Presentation Stage Two: a. Show and tell. b. Group Q&A. i. If you have drawings from the process, explain your drawings. ii. Talk about the ideas behind your branding. iii. Did you change your original ideas during prototyping? Why? iv. What do you like about your product? v. What do you think needs improvement? vi. Are there any sensors or actuators you need, but you don’t have them yet? vii. 5W 1H questions ● Who will use the product? ● How do they use the product? ● Why should they use your product? ● When should they use it? ● Where are people using it? What is the demographic of your users? ● What are the key features of your product? viii. What did you learn from this class? ix. What do you wish to learn in the future? |
